Seavプリンタドライバ設定
SeaVセットを「あっと免税」専用で使用する場合の、プリンタドライバ設定となります。
※BCPOSもインストールする場合は、「SeaVセットあっと免税+BCPOS」を参照の事
【重要】本手順書設定前には必ずUACをオフにして下さい
1-日付時刻の確認
台湾との時差の関係か時間が1時間遅れている場合がありますので、日付と時刻の設定で正しい時間に合わせて下さい。
2-各設定プログラムファイルの解凍
提供された下記ファイルを解凍しデスクトップ等に張り付けておきます。 OPOS_E1347d.zip HS-2300 Series PP_SW_Utility1303.zip
3-プログラムのインストール
上記ファイルを解凍し「setupexe」を実行します
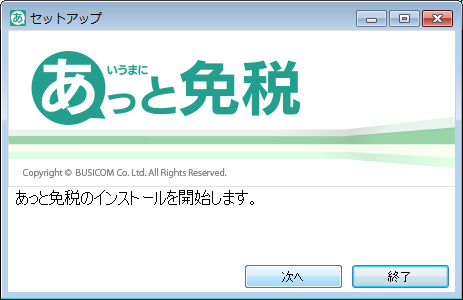
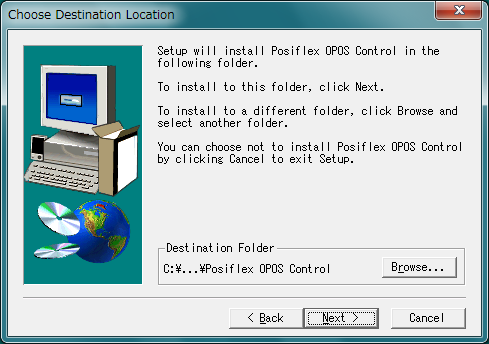
①- セットアップイが開始されますので「Next」をクリック
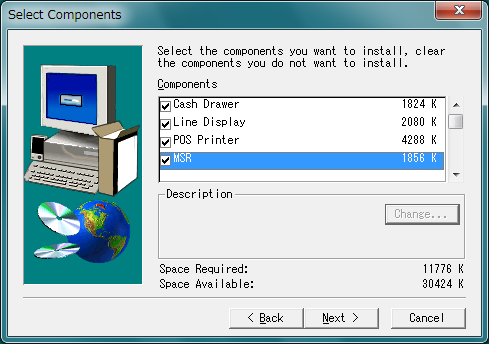
②- 「Cash Drawer」「Line Display」「POS Printer」「MSR」全てにチェックして「Next」をクリック
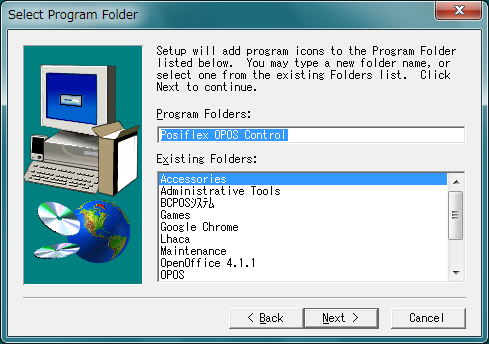
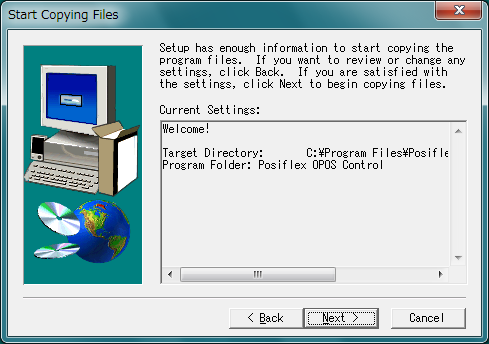
③- 「Next」をクリック
④- 「Next」をクリック
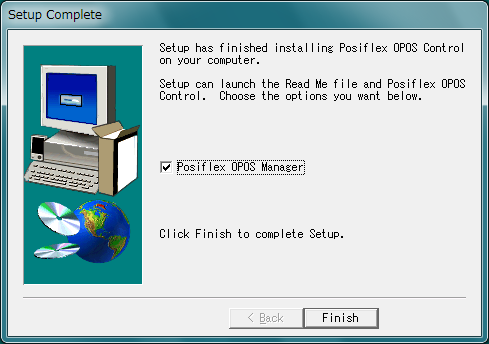
⑤- 「Finish」をクリック
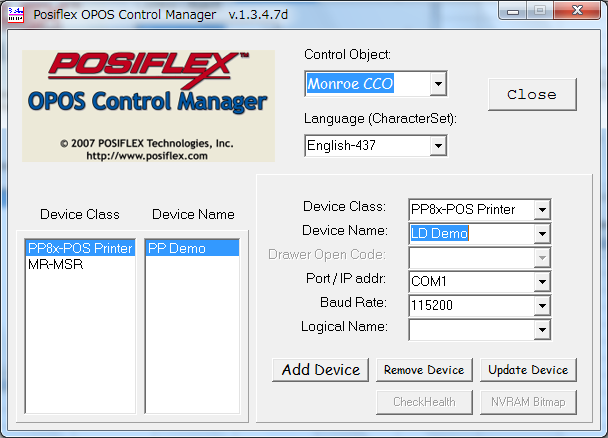
4-OPOS ControlManagerの設定
①- POSIFLEX OPOSの画面が起動しますので、最初に既存設定を削除します
「PD2x-Line Display」を選択して、「Remove Device」をクリックします
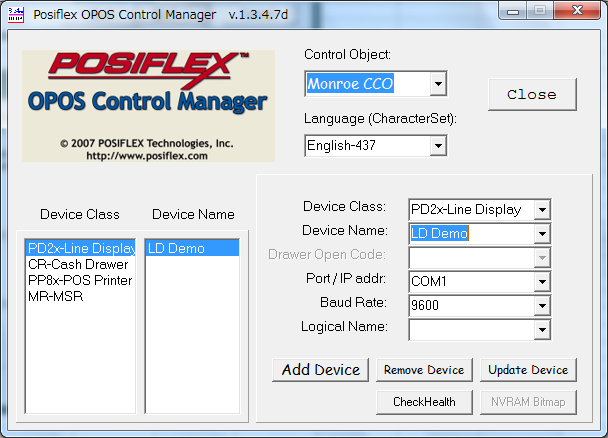
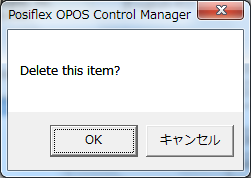
②- 確認画面「OK」をクリック

③-「CR-Cash Drawer」を選択して、「Remove Device」をクリック
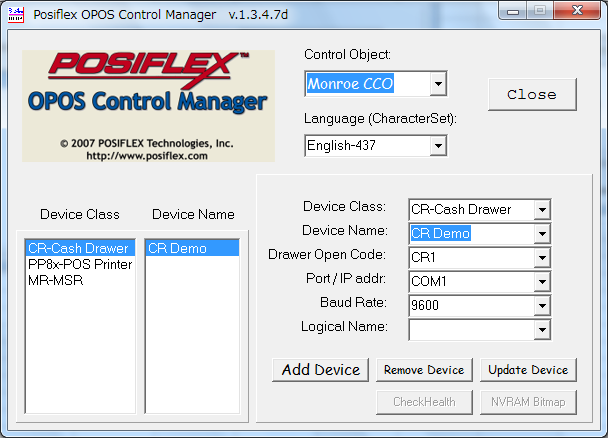
④- 確認画面「OK」をクリック

⑤- 「PP8x-POS Printer」を選択して、「Remove Device」をクリック
⑥- 確認画面「OK」をクリック
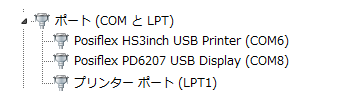
5-ポートの確認
コンピューター>デバイスマネージャーを開いて
ポートの中の「Posiflex HS3inch USB Printer」のCOM番号をメモに控えて下さい。
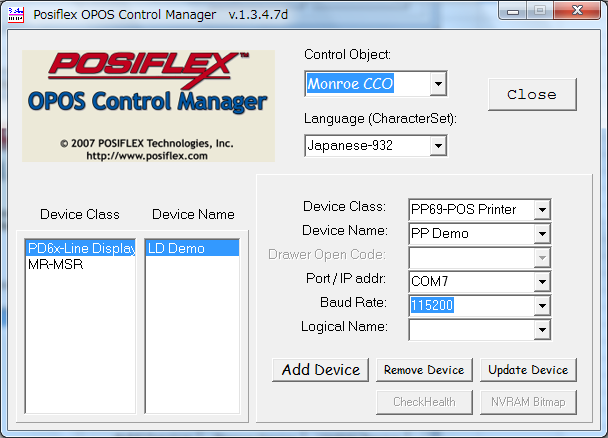
6-プリンタの追加
下記の設定を入力します
・Languageを「Japanese-932」
・Device Classを「PP69-POS Printer」
・Device Nameを「PP Demo」
Port/IP addrをデバイスマネージャーの「Posiflex HS 3inch Printer」で控えた(5-ポートの確認)COM番号に設定します
・Baud Rateを「115200」に設定して「Add Device」をクリック
Windowsを再起動して終了です